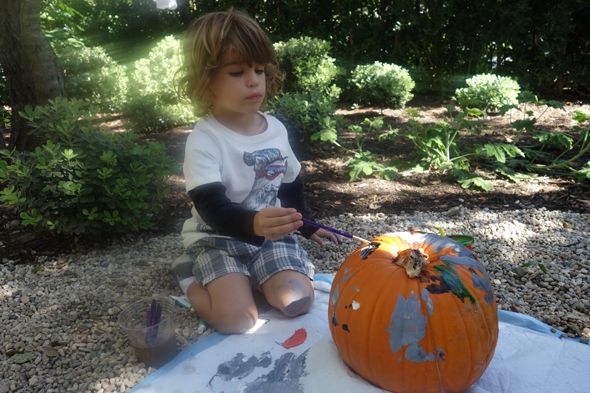
No-Carve Pumpkins
While carving pumpkins can be fun, it can also be dangerous. Any activity with a three-year-old should include avoiding sharp objects. I mean, that goes without saying! This year, Brooks really wanted to carve pumpkins but I decided to try a new approach.
There are so many ways to decorate a pumpkin minus the knife. No-carve pumpkins let you work more with your creativity and little ones can be involved during every step. They can be wrapped with ribbon, wrapped in gauze like a mummy, or painted. Since they are staying whole, they will last a lot longer, too!
Here are some pumpkins we made to give you a little inspiration:
Funny Face Pumpkin:
Materials
:
- Various pumpkins
- Acrylic paints
- Paint brushes
- Contact paper
- Stencils
- Sharpie
Steps
- Choose your pumpkin. When painting, it’s best to pick the smoothest.
- Adhere stencil or contact sheet stencil and either trace or paint using acrylic paints. I made my stencil by drawing a cut out face on a contact sheet.
- Eyes should be white with black pupils, mouth black with white teeth, all other details in white. Small details can be added using a Sharpie.
- Allow to dry
- Return to add in details such as teeth, eyelashes, eyebrows, tears…see other examples
Mummy Wrap Pumpkin:
Materials:
- Pumpkin
- Gauze
- Scissors
- Glue gun
- Googly eyes
Steps:
- Cut the gauze in half, lengthwise.
- Hot glue one end of the gauze to the pumpkin.
- Wrap away! (This was Brooksie’s favorite part!)
- Hot glue or tuck under the gauze when finished
- Glue on googly eyes. Tucking them under the gauze a bit to have them appear to be peeking out
Glowing Glitter Pumpkin:
Materials:
- Spray adhesive
- Colored glitter
- Craft paper
Steps:
- Prepare work area by laying down craft paper on table. For less mess, lay some on floor as well.
- Place pumpkin on paper and spray entire pumpkin with layer of adhesive
- Sprinkle glitter on craft paper and roll pumpkin over the area
- Allow to dry


