Be your own
kind of beautiful

DIY Handprint Turkey Hat

Happy Thanksgiving! I hope everyone is having an amazing day filled with family, friends, and food. This year I have a lot to be thankful for! We welcomed our beautiful little angel, Scarlett and Brooksie is the best big brother there is. While today is full of thankfulness and food, there’s still always room for a little DIY crafting, right?

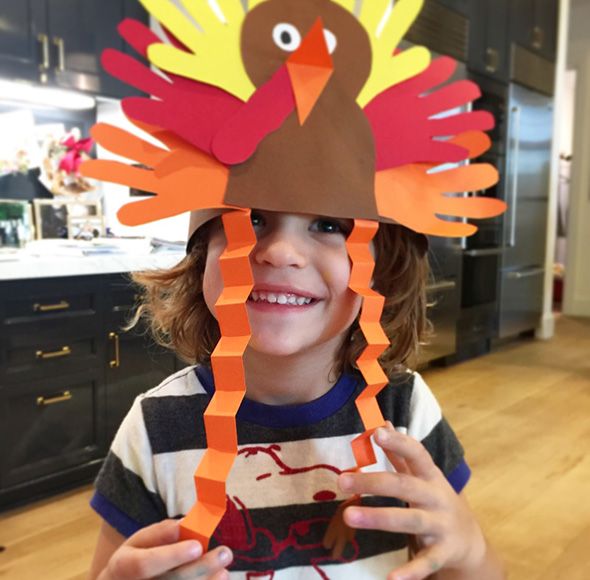
We are having friends and family over this afternoon for the holiday and Brooksie will not stop talking about being a turkey. So, what did this momma do? We made him a literal turkey. You’d think after making him being a lettuce, he’d call it quits.

Here’s the step-by-step on how we made this adorable turkey hat. Make it a pre-dinner kids table activity to entertain the little ones! You’ll thank me.


diy-turkey-hat-2.jpg

Supplies Needed:

  • Construction paper or cover weight paper in orange, red, yellow, and brown
  • Scissors
  • Glue
  • Tape

Directions:

  • Cut a strip of brown paper the width of your child’s head and approximately 2.5 inches wide
  • Trace child’s hand on each of the colored papers
  • Cut the following: turkey head and body out of brown paper, beak out of orange (fold a small piece in half and cut into a triangle), two white circles for eyes, two orange strips for legs (accordion fold), two feet to glue on the legs, the “wattle” or the red dangly thing under the turkey’s beak out of red paper
  • Assemble by gluing on the various parts


Sign up for my newsletter and get tips on makeup, skincare, motherhood, and the secret to a perfect Paloma. xx molly